Lips With Lip Gloss Drawing

If you wanna learn more about portrait drawing, check out my "Portrait Fundamentals Made Simple" course.
It's a very beginner-friendly course that walks you through all the basics of portraiture, from constructing a basic head, facial proportions, drawing the features, and finally drawing a realistic portrait step-by-step.
Click Here To Learn More!
Lesson Details
Step 1 – Drawing the Lay In
For this drawing, I will be using a simple grid to help me draw the layin. I drew a 2 by 2 grid on my reference and my drawing paper and used the guide lines to sketch in the outlines of the lips.
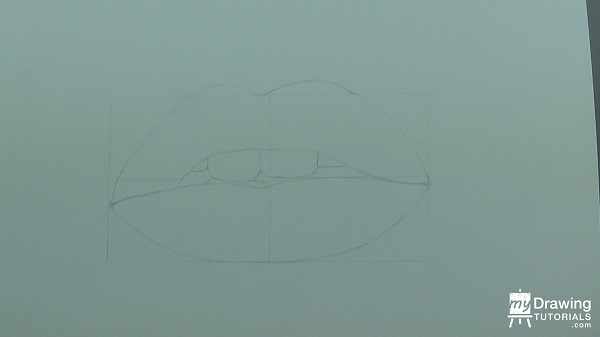
I'm using an HB pencil and sketching very lightly. Once I'm finished, I'll use an eraser to get rid of the grid lines.
Next, let's sketch in the little cracks and wrinkles on the upper and lower lips.
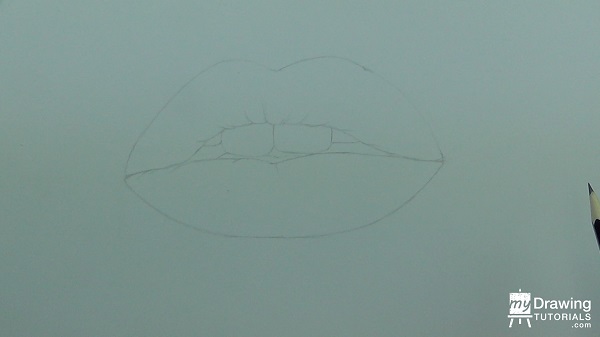
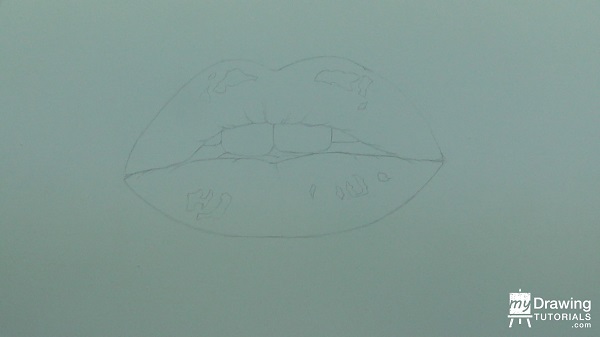
The next step is to mark out where the highlight areas are going to be. I'm making these highlights very dark so that you can see them in the video, but for your drawing, keep the lines extremely light. Just enough for you to see them.
Step 2 – Shading the Lips
OK, now for the shading!
To give the lips some texture, I'm going to use vertical lines and shade with the contour of the lips.
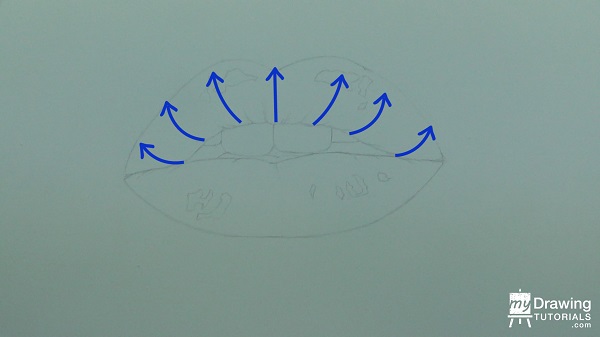
And of course, I'm shading around the highlight areas.
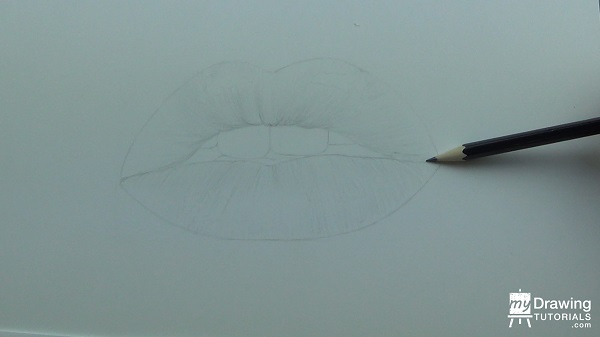
And now that you know where the highlight area is suppose to be, I'm going to lighten its outline with a kneaded eraser so that it looks more natural. And I'll continue shading around the highlight areas some more.
Now, I'm going to take my tortillions and smooth out the tones. It's ok to let the tortillion shade over the highlight areas for now, we will pick out the highlight with an eraser later.
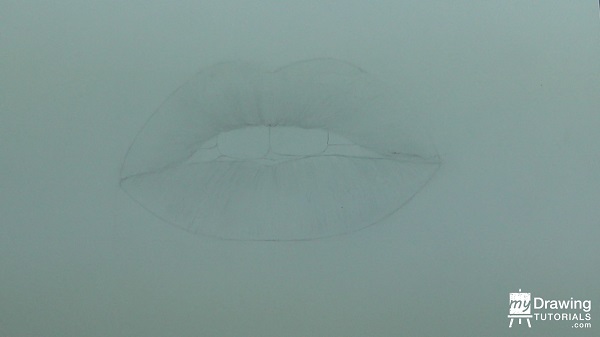
I don't want the outline of the lips to stand out. Instead, I want it to blend in with the shading so that it looks more realistic. So let's lighten the outline of the lips with our kneaded eraser.
There's a shadow underneath the bottom lip. This shadow is dark at the center and gradually fades out as it moves towards the corners.
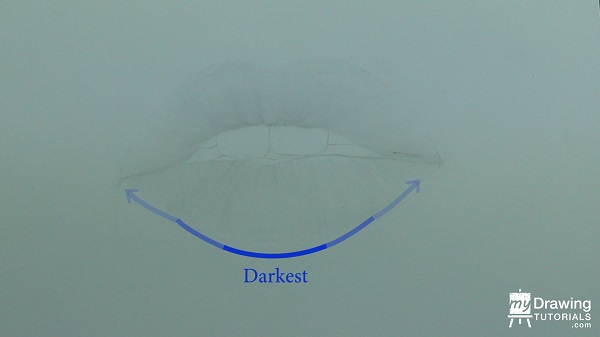
Let's put in this shadow.
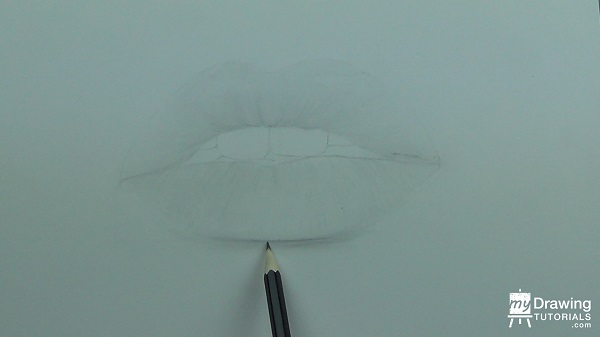
Next, let's fill in the gap of the mouth with a dark shadow.
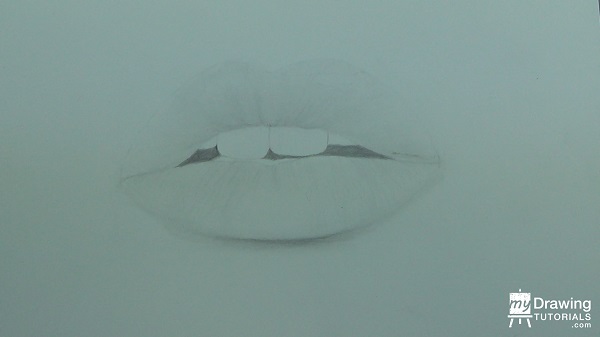
And then, we'll put in some shading on the teeth. This is a shadow that is cast onto the teeth by the upper lip. And I'll also use the tortillion to put a light tone on the lower portion of the teeth as well.
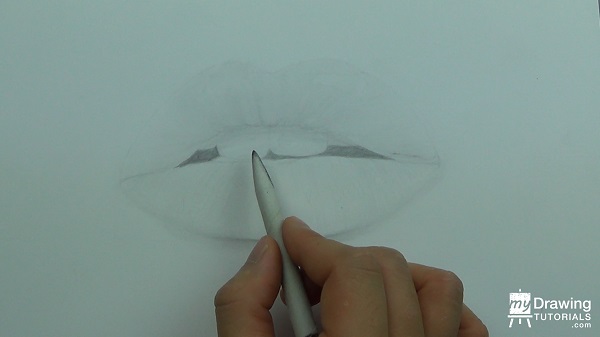
Next, I'll darken the upper lip some more.
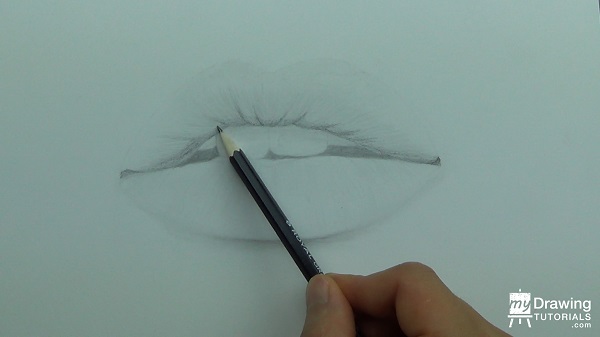
I want to create a gradation where the tone is brightest in the highlight area and gradually darkens as it moves away.
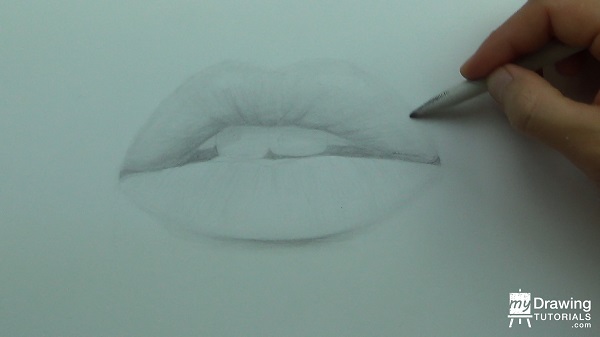
With the upper lip darker, the shadow in the mouth is looking a bit light. So I'll take a 2B pencil and darken that area a bit.
And we'll add some tone to the lower lip.
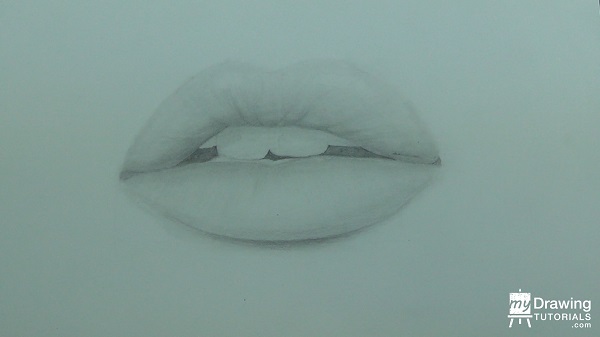
Now let's add in the the core shadow for the lower lip in this area.
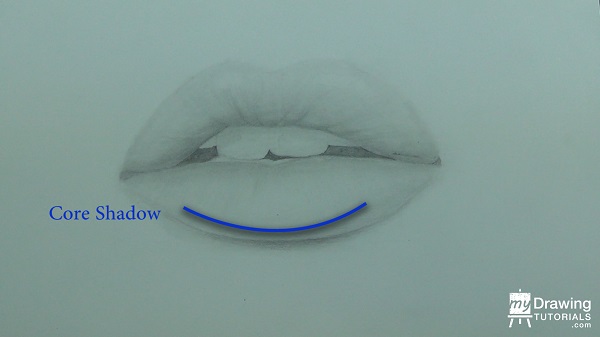
Step 3 – Adding Highlights & Contrast
Next, I'll shape the kneaded eraser into a sharp tip and pick out the highlight areas in the lips and teeth.
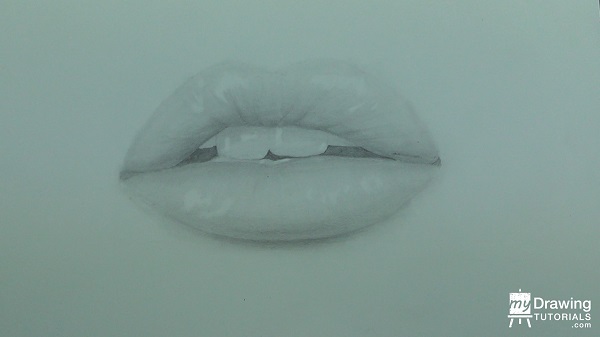
And now it's just a matter of going back and forth between the pencil and the tortillion and adding more contrast.
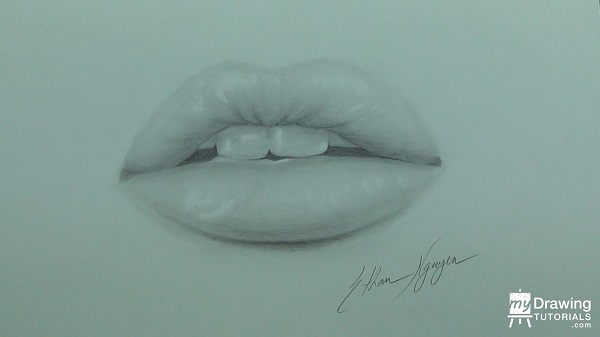
And we're all done!
Lips With Lip Gloss Drawing
Source: https://mydrawingtutorials.com/how-to-draw-realistic-lips-glossy-lips/
Posted by: bondsolish.blogspot.com

0 Response to "Lips With Lip Gloss Drawing"
Post a Comment